
Epoxy resin art has taken the creative world by storm—its glossy finishes, vivid color blends, and mesmerizing depth make it a favorite among DIY lovers and professional artists alike. Whether you're crafting coasters, tabletops, wall art, or jewelry, epoxy resin allows endless experimentation and personalization.
This guide is designed for beginners eager to try their first epoxy resin project, from gathering the right supplies to pouring with confidence.

🧰 1. What is Epoxy Resin Art?
Epoxy resin is a two-part compound—resin and hardener—that, when mixed, creates a glossy, durable finish. Artists love it for its glass-like quality and ability to encapsulate objects, create abstract swirls, and layer colors in unique ways.
💡 You’ve probably seen resin art used in ocean-themed tables, sparkling geode coasters, or dreamy galaxy-style canvases.

🧪 2. Tools & Materials You’ll Need
Before you start, gather your essentials:
-
Epoxy resin & hardener (1:1 ratio unless stated otherwise)
-
Protective gear (gloves, mask, apron, and goggles)
-
Mixing cups & wooden sticks
-
Pigments, alcohol inks, or mica powders
-
Silicone molds or wooden panels/canvas
-
Heat gun or torch (to pop bubbles)
-
Plastic sheet or drop cloth to protect your workspace
Optional:
-
Dried flowers
-
Glitter
-
Stones or shells for embedded designs

🧷 3. Prepping Your Workspace
Resin art gets messy fast—so prep is key.
-
Ventilation: Work in a well-ventilated area.
-
Flat surface: Ensure your surface is level.
-
Temperature: Ideal room temperature is between 70–75°F (21–24°C) for smooth curing.
-
Protection: Cover everything. Resin sticks to what it touches.
🎨 4. Let’s Create: Step-by-Step Tutorial
Step 1: Measure & Mix
Pour equal parts resin and hardener into a cup. Stir slowly but thoroughly for 3–5 minutes until fully combined.
Step 2: Add Color
Separate into smaller cups and mix in your chosen pigments or dyes. Get creative—combine mica powders for shimmer or alcohol inks for dreamy effects.
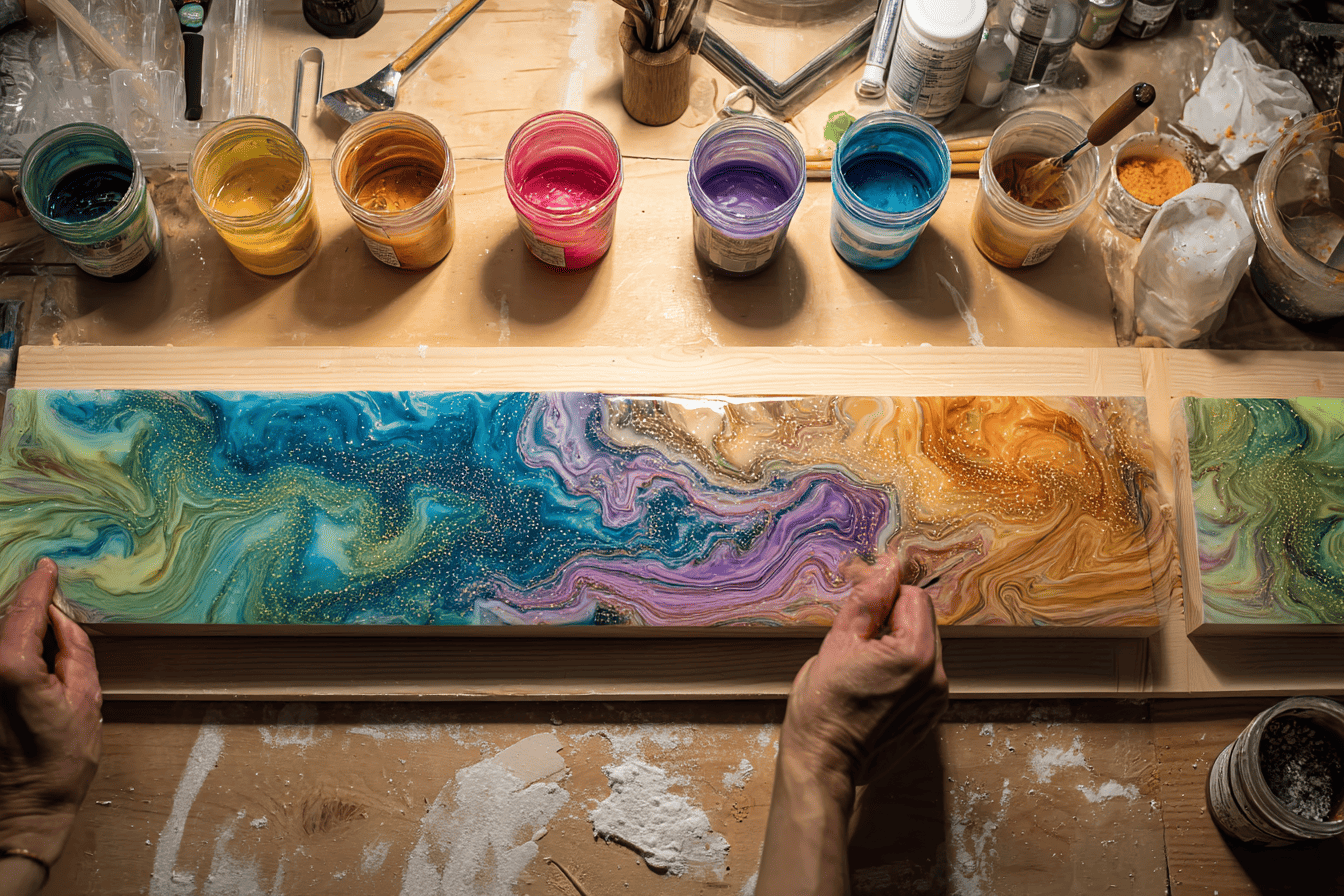
Step 3: Pour
Pour your colored resins onto your surface (or into molds). Use techniques like:
-
Dirty pour (all colors in one cup, poured together)
-
Swirl pour (pour colors side by side and swirl)
-
Layered pour (pouring one at a time to build dimension)
Step 4: Move the Resin
Tilt the surface or use a spatula to guide the flow. Use a torch or heat gun to pop air bubbles and blend transitions.
Step 5: Curing
Let the piece cure undisturbed for 24–72 hours depending on thickness and brand. Avoid touching or moving it during this time.


🌊 5. Design Ideas for Beginners
-
Ocean Coasters: Blue, teal, and white layers to mimic waves.
-
Galaxy Wall Art: Deep purples, blacks, and shimmering mica for stars.
-
Geode Slices: Add crushed crystals and metallics for a luxury look.
-
Botanical Tray: Encapsulate pressed flowers or leaves in clear resin.

🧼 6. Safety & Cleanup Tips
-
Always wear gloves and avoid skin contact.
-
Use a mask when sanding cured resin (dust can be toxic).
-
Clean tools with alcohol or disposable supplies.
🌟 7. Show It Off or Sell It!
Once you’ve made your first epoxy art, share it! Platforms like ArtEXPO are perfect for showcasing and even selling your creations. Start small, learn your style, and let your work evolve.

💬 Final Thoughts
Epoxy resin art is equal parts chemistry and creativity. Your first project may not be perfect—but it will be uniquely yours. Experiment, get messy, and enjoy the journey of transforming a clear liquid into something magical.
